


Wingsuit Deployments!
By Chris Geiler and Matt Gerdes… and Richard Webb and Will Kitto
(THIS SUPPLEMENTS THE MORE EXTENSIVE WINGSUIT OPENINGS ARTICLE, WHICH WE RECOMMEND READING FIRST).
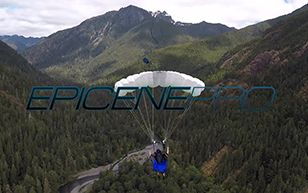
Wingsuit deployments are perhaps one of the most complicated tasks in skydiving. The transition from wingsuit flight to parachute flight is complex and fraught with hazard, and it is worth studying.
The current trend in wingsuit design is toward more efficient and powerful designs that are capable of higher forward speeds than we have seen before. This translates to higher risk for pilots who are not training to proper technique.
One of the most prevalent issues currently, is deploying at too high an airspeed, which can cause damage to equipment, damage to the pilot himself, and encourage violent off-heading openings which can lead to severe line / body twists. We would like to offer some examples of deployment procedures that have proven to be successful and discuss other factors which you can control to increase your chances of having safe, on heading openings, without line twists.
Wingsuit flare
Wingsuit flare has been a topic of much conversation, but there seem to be some misunderstanding about how it can be used to improve wingsuit openings.
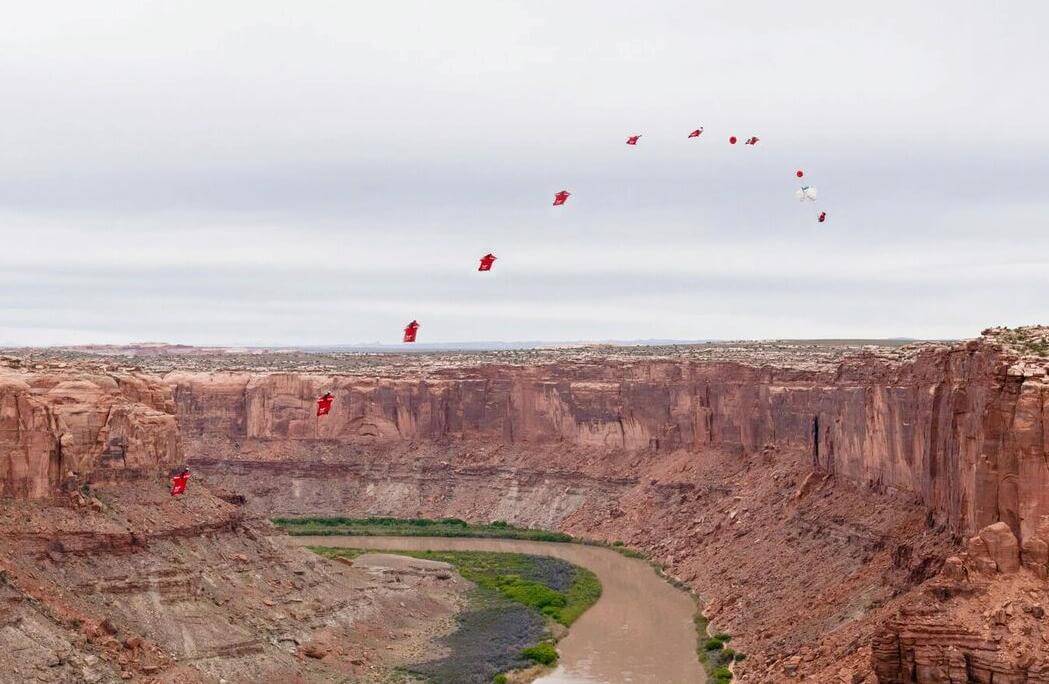
First, we must understand that forward speed increases when we initiate a flare in a high-performance wingsuit. This is a technique commonly used in Performance Competitions to get a final slingshot of speed at the end of the competition window. The expectation that flaring from high speed flight will quickly slow you down is akin to thinking that a high-performance canopy pilot should touch feet to the ground and start trying to run out their landing as soon as they stop their turn, instead of waiting for the end of their swoop.
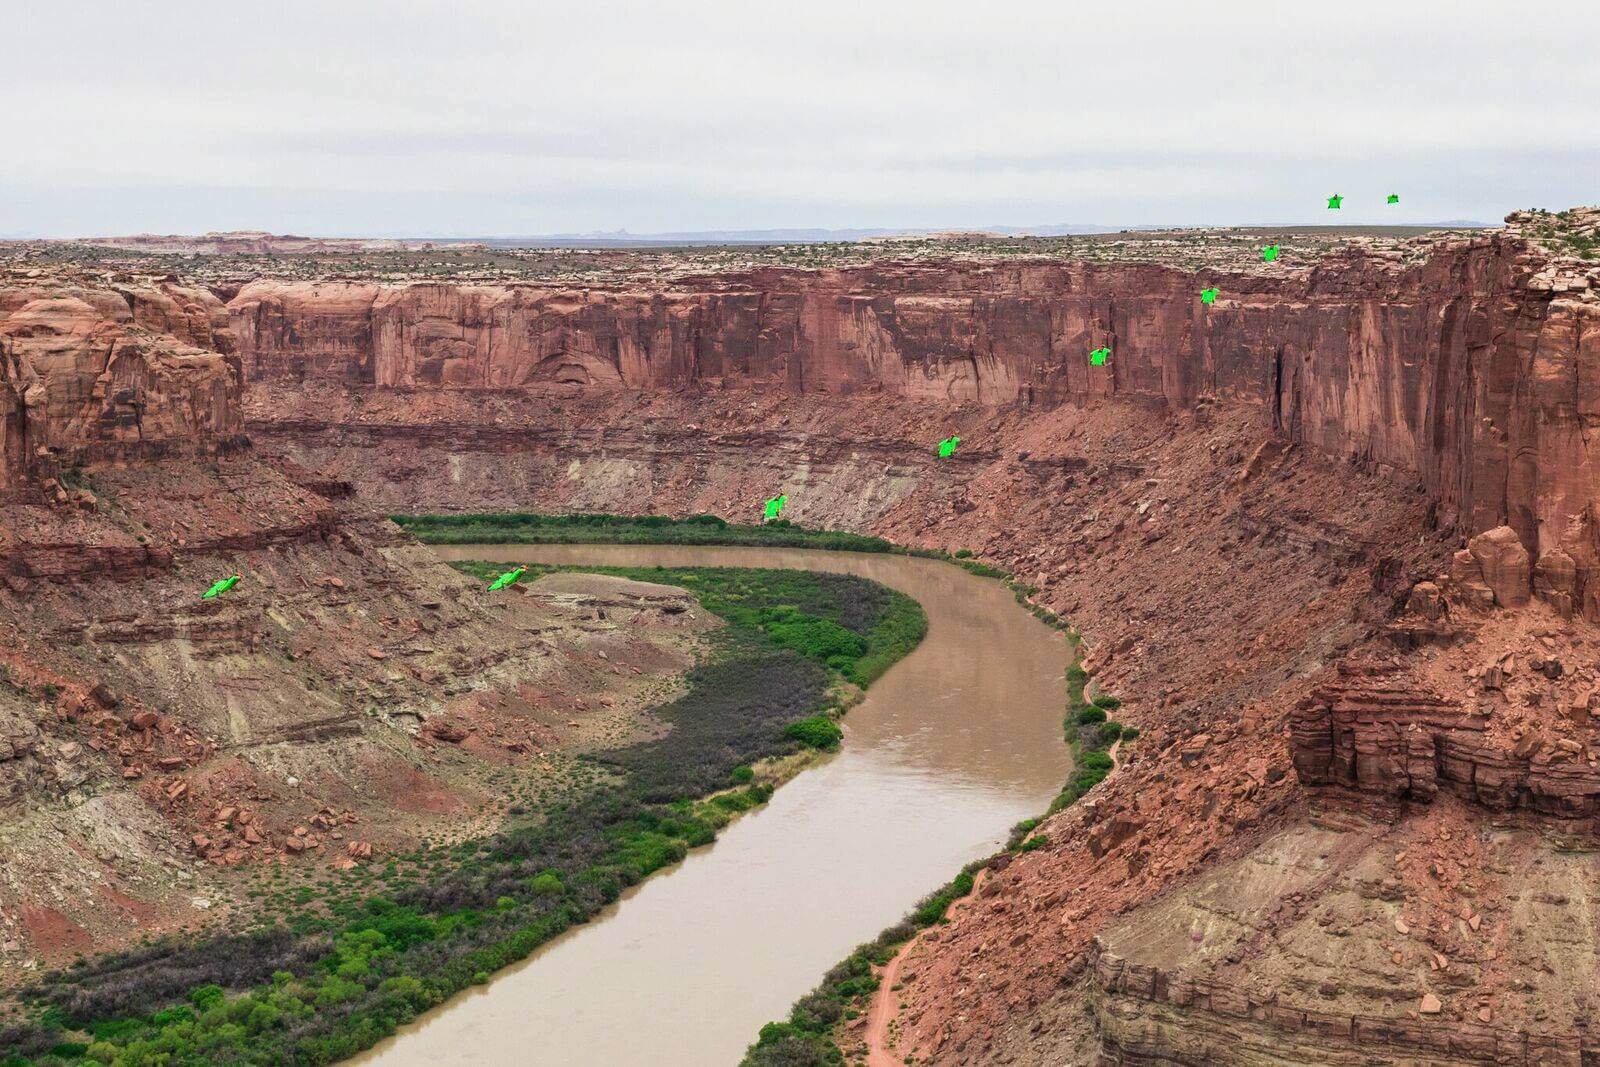
A high performance wingsuit wants to convert this retained energy, and we need to “bleed it off” before initiating deployment. Fortunately, particularly in the BASE environment, the process of reducing our speed also involves an increase in glide, or even an altitude gain. This is a benefit in almost every realistic scenario – it gives us separation from terrain, more time to deploy, and increases our options for deployment location and altitude. In the BASE environment, when flying at high speed, an “emergency pull” no longer occurs at a mandatory low-altitude. Converting our speed allows us to separate from the terrain and pull at a safer altitude. In skydiving, converting our speed allows us more options at break-off, and allows us to choose the location and altitude of our deployment with more freedom.
Techniques
There are two common techniques to transition to a deployment-ready flight configuration:
- Intentional flare.
- Relax configuration, reduce speed.
1. Intentional Flare
For an Intentional Flare, keep these points in mind:
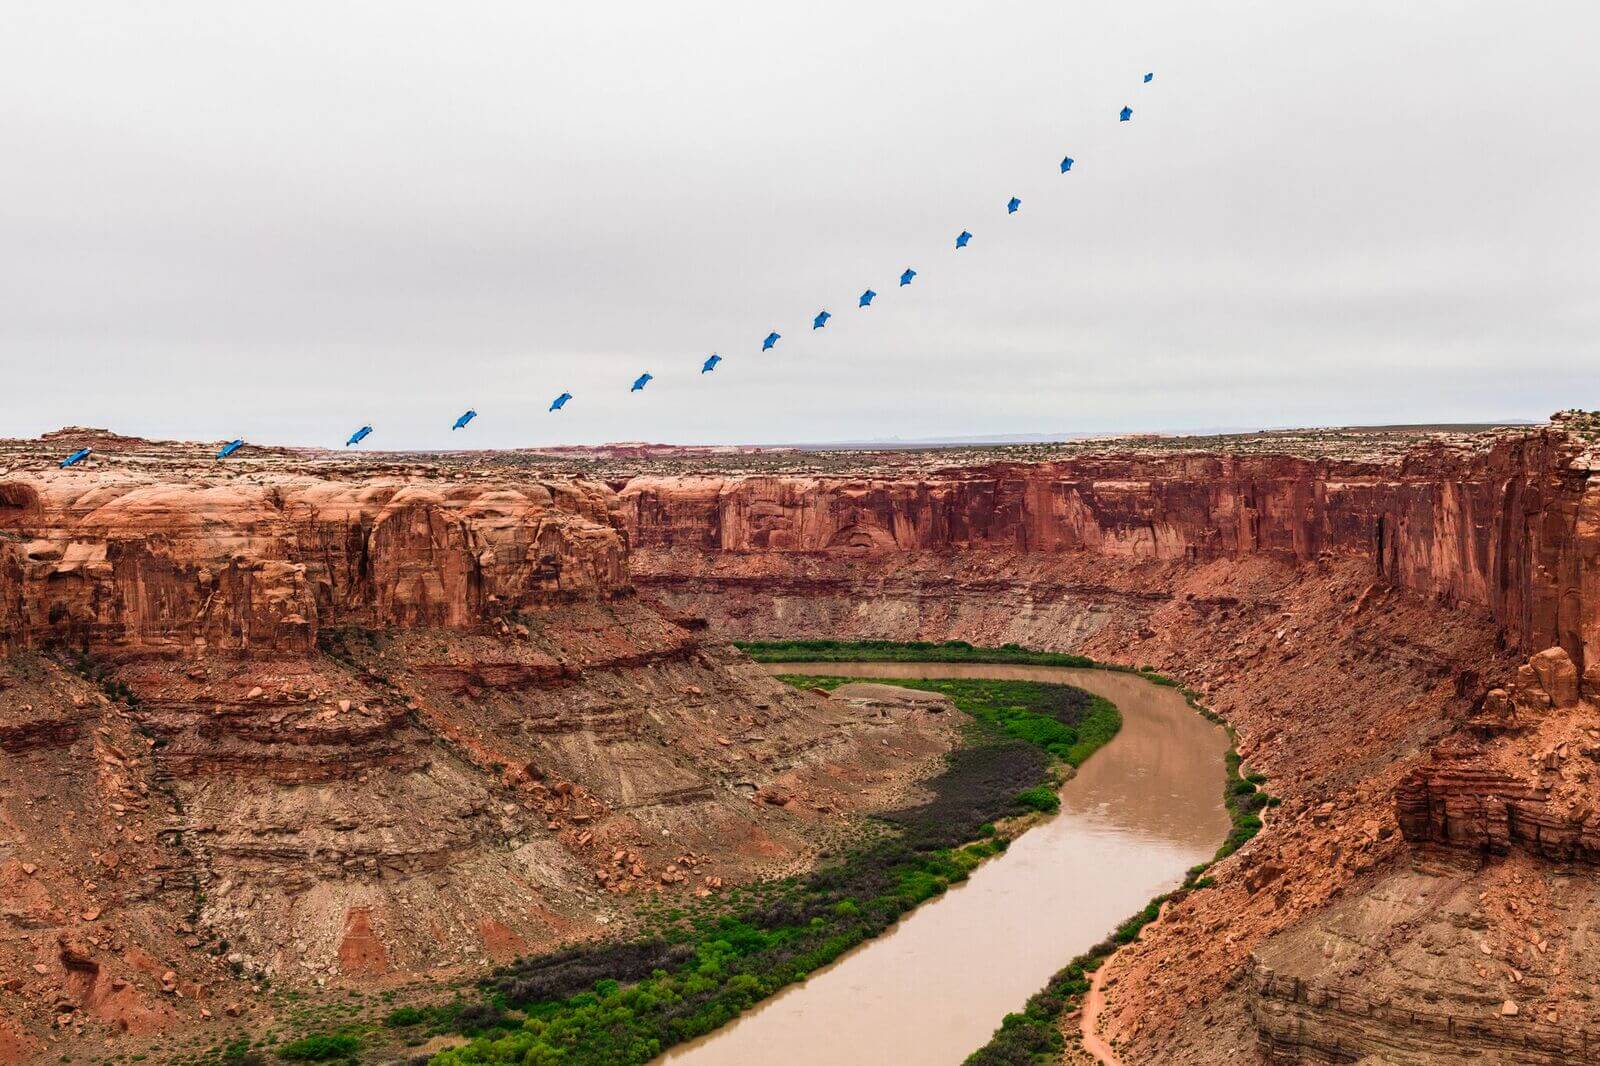
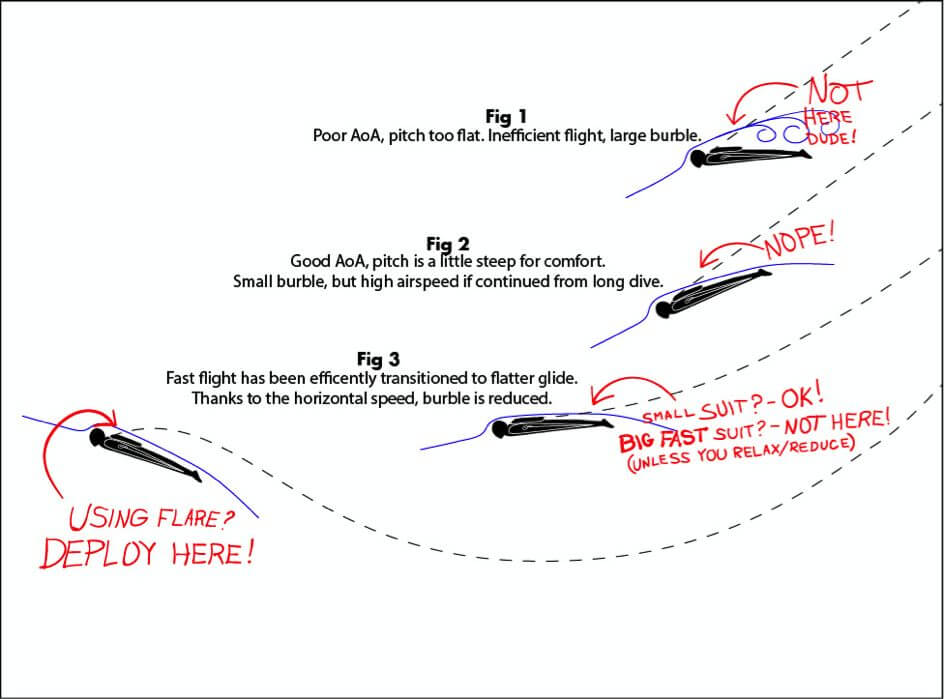
- The best (highest) flare emerges from level flight, not a steep dive. What this means is that we must smoothly transition from our low AoA, high-speed flight config, to a horizontal glide path, before gradually increasing our AoA. To state this less technically: We dive, we level out, and only then do we kick it upward and go head-high. If you level out before going aggressively head-high, you will avoid the “air brake” scenario that can lead to high speed stall.
- Once climbing, the slower your airspeed, the higher AoA you will need to fly to continue to climb. This means that as you are ascending in the flare, you are configuring yourself to be more head-high, and at the apex of your flare you will be in the highest AoA (most head-high) configuration.
- While deploying at the apex of a flare at high AoA means deploying into a large “burble”, keep in mind that it also means deploying at low airspeeds. The low airspeed deployment is a very effective method and is highly manageable, as long as your PC and bridle are the correct length (8-9’ bridle, and 30” diameter PC for skydiving, are commonly considered ideal).
- If you wait until after the apex of your flare, beware: you will have the tendency to deploy in a head-low configuration, which increases the risk of complications and twists, as you are more likely to be “flung” as your deploying parachute rapidly corrects your angle.
2. Relax/Reduce
For the Relax/Reduce technique, keep these points in mind:
- Plan ahead, and relax your body configuration. Take a breath, and let yourself sink in to the suit instead of maintaining a firm frame. This de-powers the suit and begins to bring it back into the realm of a friendly deployment speed. From this configuration, an initiated flare will not result in as much of a “slingshot” horizontal speed increase. Nor should it have the stored energy to give you a full-cobra flare. If you’re still feeling a lot of G-Force in your flare, then you haven’t slowed yourself down enough before initiating the flare.
- This technique is better suited to pilots who wish to deploy at an AoA that allows more airflow over the top surface of their wingsuit. That is to say, instead of deploying at a very high AoA (cobra position) and low airspeed, you deploy in a more “level” configuration at moderately reduced speed.
- In this technique, the concept behind flaring before deployment is to slow your forward speed and adjust your flight path angle and the airflow over your suit to encourage clean extraction of your parachute.
Deployment Timing
Deploying your pilot chute too early in a flare means that you risk deploying at too high an airspeed, and too low an AoA. Ideally, you should be aiming to throw your PC either:
- Prior to the apex of your flare to allow you to be slightly head high and with sufficient loss of speed, or
- After the Relax/Reduce deceleration technique, and at a more level glide path.
Reducing airspeed reduces the internal pressure in your wingsuit, making the BOC reach easier, which also helps us to have a cleaner and more symmetric deployment.
Symmetry
Symmetry in aerodynamics is paramount. Without symmetrical lift, weight, and drag, your wing will rotate on its longitudinal axis (roll axis). This means you should make the same movement with your left and right limbs. Remember that one leg extended more than the other will cause an asymmetrical driving force. If you extend the left and bend the right leg, you will turn slightly. Even a slight turn will make line twists more likely.
Canopy Choice
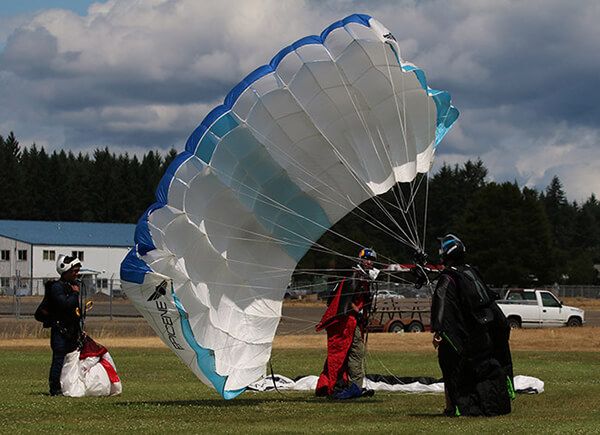
Finally, canopy choice is an important consideration. Old parachutes may still be reasonable for use with smaller wingsuits, but the peace of mind that results from more consistent openings makes a wingsuit specific canopy well worth the investment before you begin flying a high performance suit. There is a very good reason why several companies have spent time and money producing canopies specifically for wingsuiting, and why some of those products have become so popular amongst leading pilots. The money you save on reserve repacks may offset the cost of a more reliable wingsuit canopy. When you are packing your wingsuit canopy, consider following the advice described in this article. We have found that it works well for us and we recommend that all wingsuit pilots consider the method.
Thanks for reading, and please don’t hesitate to reach out with questions or comments. Our Next Level team instructors are available for coaching at a 1:1 ratio, at camps, or even at a DZ seminar level. Get in touch!